

How to Inspect Roof Flashing Before It Leaks
A roof can have shingles that look perfectly fine from the yard and still leak around a chimney, vent, or wall. That is why knowing how to inspect roof flashing matters. Flashing is the metal material that directs water away from roof openings and transition points. When it fails, rain can get beneath the roofing system and damage decking, insulation, ceilings, and walls.
For homeowners and property managers in storm-prone areas, a basic flashing check after severe weather can catch a small repair before it becomes an interior water problem. The key is to inspect safely, know what normal flashing should look like, and call a professional before a loose piece of metal turns into a larger roofing failure.
Start With a Safe Ground-Level Inspection
You do not need to walk on your roof to spot every flashing concern. In fact, climbing onto a steep, wet, aging, or storm-damaged roof creates unnecessary risk. Start from the ground with binoculars or use a phone camera with a zoom lens. Look at the roof from several angles in good daylight.
Pay close attention to the areas where the roof changes direction or meets another surface. These are the places that handle concentrated water flow, and they are more likely to develop leaks than the open field of shingles.
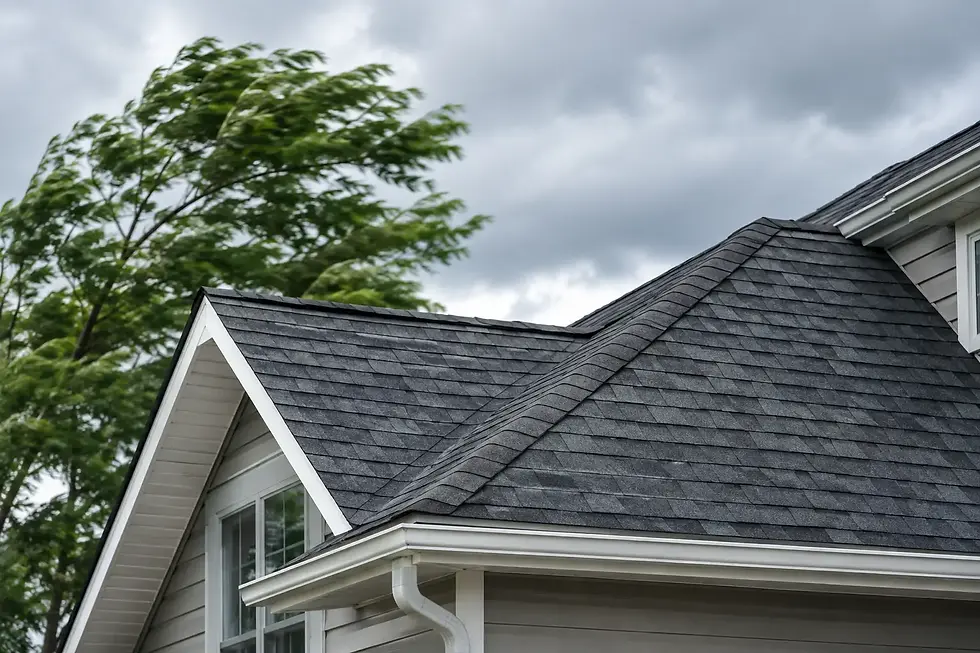
A ground-level inspection is especially useful after high winds. Look for metal that appears lifted, bent, missing, or separated from the roofline. Fresh debris in gutters, bent drip edges, or shingles that look out of place near a chimney or vent can also point to flashing damage.
Know Where Roof Flashing Is Located
Flashing is not limited to one piece of metal around a chimney. A complete roofing system may use several types of flashing, each with a specific job. Knowing where to look helps you avoid overlooking a vulnerable area.
Common flashing locations include:
Chimneys, where flashing seals the joint between masonry and the roof
Plumbing vents, furnace flues, and other pipe penetrations
Skylights and roof-mounted equipment
Valleys, where two roof slopes meet and channel heavy water flow
Sidewalls, headwalls, dormers, and roof-to-wall connections
Eaves and rakes, where drip edge flashing helps direct water into gutters
On a low-slope commercial roof, inspect parapet walls, rooftop units, drains, scuppers, and penetrations as well. These details are often protected by membrane flashing rather than the exposed metal commonly seen on shingle roofs, but the warning signs are similar: openings, failed seams, loose edges, and standing water.
How to Inspect Roof Flashing Up Close
If your roof has a safe, accessible area such as a porch roof or a low-slope section, inspect only from a stable ladder position or safe walkway. Never lean a ladder against gutters, step onto brittle shingles, or work alone. When access requires walking on the main roof, leave that part to a licensed roofing contractor.
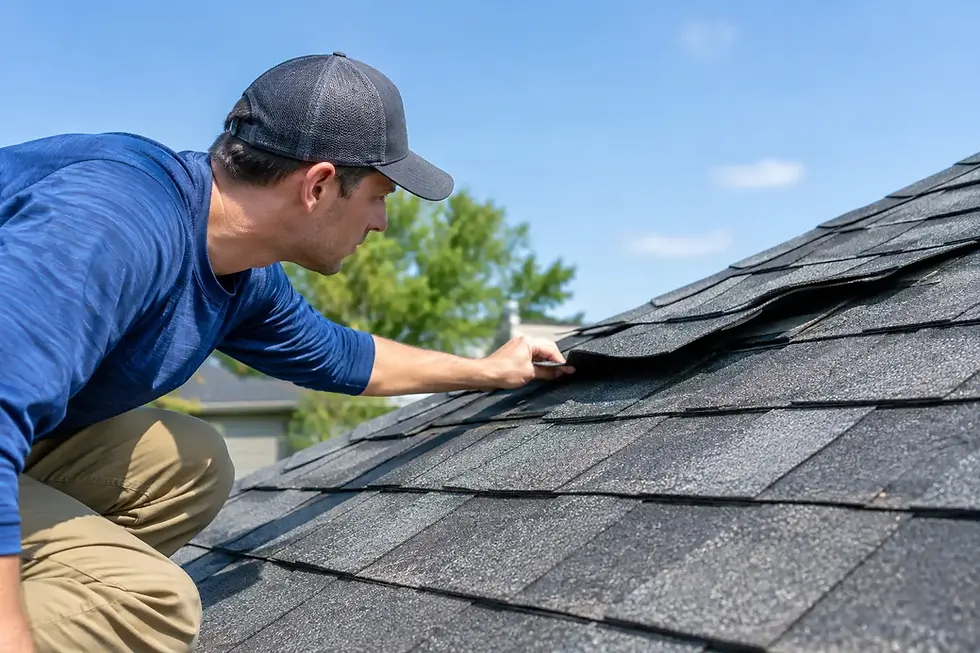
Start by looking for visible separation. Flashing should sit tight against the surface it protects. A gap between the metal and chimney, siding, vent pipe, or shingles is a direct path for water. Check for raised corners, buckled sections, loose nails, and metal that has shifted after wind exposure.
Then examine the condition of the metal itself. Rust, corrosion, pinholes, and deep dents reduce the flashing's ability to shed water. Surface discoloration is not always an emergency, particularly on older galvanized metal, but flaking rust or holes require attention. Aluminum flashing can corrode when it contacts incompatible metals or treated lumber, while galvanized steel may rust over time if its protective coating has worn away.
Sealant deserves a close look, too. Roofing sealant around flashing should be intact and flexible, not dry, split, peeling, or heavily smeared across the roof. A thick layer of caulk is not a lasting substitute for correctly installed flashing. It may stop water briefly, but it can hide a deeper installation problem and eventually crack under sun exposure and temperature changes.
Look at the surrounding shingles as well. Cracked, curled, missing, or improperly cut shingles near flashing can let water travel behind the metal. At a chimney, check whether the step flashing is integrated with each shingle course rather than simply covered with exposed tar. Properly installed flashing works as part of the roofing system, not as an afterthought applied on top of it.
Check Inside the Attic and Along Ceilings
Exterior damage does not always show itself immediately. An attic inspection can reveal a flashing leak before it reaches a living-space ceiling. Go into the attic during daylight with a flashlight and look around chimneys, vents, skylights, and roof valleys.
Watch for dark water stains, wet insulation, damp wood, mold-like spotting, or a musty odor. You may also see daylight around a pipe or chimney penetration, although not every visible opening is a leak. Condensation around uninsulated pipes can look similar to water intrusion, especially during humid weather. The timing matters: stains that grow or become wet after rain are more likely tied to a roof or flashing issue.
Inside the building, check ceilings and walls below roof penetrations. Brown rings, bubbling paint, soft drywall, and fresh staining around a fireplace chase or bathroom vent should not be ignored. Water can travel along framing before it becomes visible, so the stain may not sit directly below the damaged flashing.
Pay Attention After Wind, Rain, and Temperature Swings
Memphis-area weather puts roof flashing through repeated stress. Strong wind can lift an edge or pull fasteners loose. Heavy rain tests every small gap. Summer heat expands metal, while colder nights cause it to contract. Over time, those movements can break sealant and loosen connections.
Inspect flashing after a major storm, especially if you notice missing shingles, branches on the roof, or debris blown into gutters. You should also make it part of a seasonal roof check, ideally in spring and fall. Commercial property owners may need more frequent inspections because flat and low-slope roofs often have more penetrations, drainage points, and mechanical equipment.
A flashing issue does not always mean the entire roof needs replacement. Sometimes the repair is limited to resealing, replacing damaged step flashing, resetting a vent boot, or correcting a poorly installed chimney detail. It depends on the age of the roof, the extent of water damage, and whether the surrounding shingles can be removed and reinstalled without breaking.
When a Quick Repair Is Not Enough
Avoid the temptation to solve every flashing issue with roofing cement or a tube of caulk. Temporary sealant can be appropriate for a small, confirmed opening while you arrange service, but it should not be the long-term answer for loose, rusted, or incorrectly layered flashing.
Call a roofing professional promptly if you see active leaking, missing flashing, widespread corrosion, lifted chimney counterflashing, damaged valley metal, or water stains inside the building. You should also schedule an inspection if a roof has been repaired multiple times in the same location. Repeated leaks usually mean the original detail was never fully corrected.
For chimney flashing, the repair may involve masonry work as well as roofing work. Counterflashing set into mortar joints can fail when the mortar cracks or pulls away. For roof-to-wall flashing, siding may need to be removed and reinstalled to make the repair correctly. Those are not jobs where a surface patch delivers dependable protection.
Get a Professional Opinion Before Water Spreads
Roof flashing is a small part of the roof, but it protects some of its most vulnerable points. A professional inspection can identify whether the problem is isolated, storm-related, or part of a larger roofing concern. It also gives you documentation that may help when you are evaluating insurance-related damage after severe weather.
Price Contracting Solutions helps homeowners and property owners across Memphis, West Tennessee, Northeast Arkansas, and North Mississippi assess roof damage with clear recommendations and dependable workmanship. As a family-owned, licensed, bonded, and insured contractor, the team can inspect flashing details, explain what needs repair, and help you make a confident next move.
If you have spotted a loose edge, rusted metal, failing sealant, or a new ceiling stain, do not wait for the next hard rain to provide the answer. Request a professional roof inspection and address the small opening while it is still a manageable repair.

Comments